

QUICK AND EASY INSTALLATION
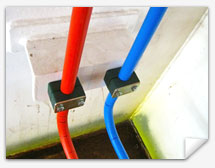
Jointing Procedure (Brass Compression Fitting)
- Cut the pipe according to size at a right angle
- Round it
- Put the nut and fastener ring through the pipe and then screw tightly at the joint
- Tighten the nut with a spanner
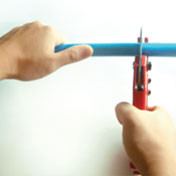
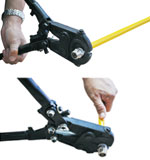
A. Easy snipping
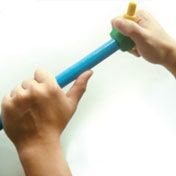
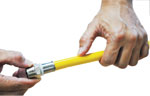
B. Rounding
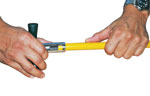
C. Bending Pipe with Timur P.A. Pipe bender
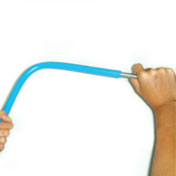
D. Bending Pipe with Anticrushing Spring
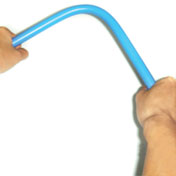
E. Malleable and never sprngs back (use bending tool to bend)
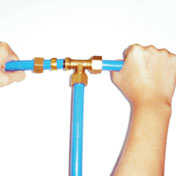
F. No need theading
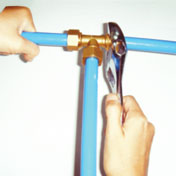
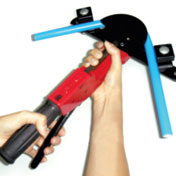
G. Tightening
H. Simple installation
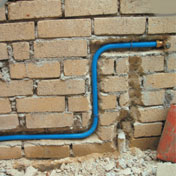
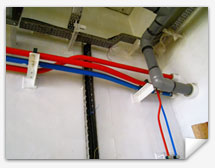
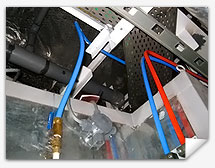
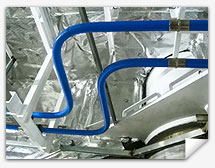
FLEXIBLE CONFIGURATIONS
Timur P.A. Pipes are more flexible than ordinary metal pipes and are more durable than plastic pipes. These combined properties give you a much wider range of configurations when laying out your piping without the hassle of additional fittings.
Installation – Do's and Don'ts
- Avoid installing pipe with water droplets in it during freezing temperatures.
- When bending radius is less than five times the outer diameter, elbow joint should be used for connection.
| DO'S | DON'TS | |
|---|---|---|
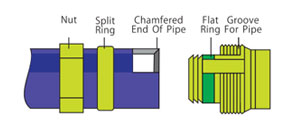 |
The cut of the pipe must be at a right angle. The end is
essentially to be rounded and chamfered. Remove the nut and split ring from fitting. Inspect the flat rings. Place the nut and split ring over the pipe. |
Do not try to put the nut and split ring over the pipe before
roundling. Any bending operation should be completed before jointing. Minimum distance of 150mm from the joint should be maintained if pipe is to be bent after jointing. |
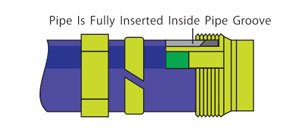 |
Insert the pipe fully into the groove over the fitting insert. | Do not leave any gap when pipe is inserted into the groove. Don't apply any lubricating medium such as oil or grease to pipe or fitting. With proper beveling and chamfering, the pipe will go easily. |
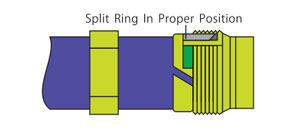 |
Check that the pipe goes over smoothly without damaging the flat
rings. Push the split ring until it sits inside the tapered portion provided in the fitting. |
Don't keep the split ring away from the fitting. |
 |
Tighten the nut fully using spanner of proper size over the fitting. | Don't leave the nut without spanner tightening. Hang tightening is not sufficient for proper joint. Tightening should not be excessive. If spanner starts slipping, stop tightening. |
Assembling & Fixing
- Priorly ensure work site is reasonably clean. Cap pipe-end as necessary to keep out mud, sand and earth.
- All laying or installing to comply with work drawings.
- Straighten pipe where necessary on level ground. For small diameters, straightening best done manually. Preferably use a socket at intervals of 600mm to 1000mm diligently.
- Bending the pipe : Insert spring into pipe; Bend slowly. Later, draw out the spring. Where done manually, the bend radius should not be less than five times the size of outer diameter.
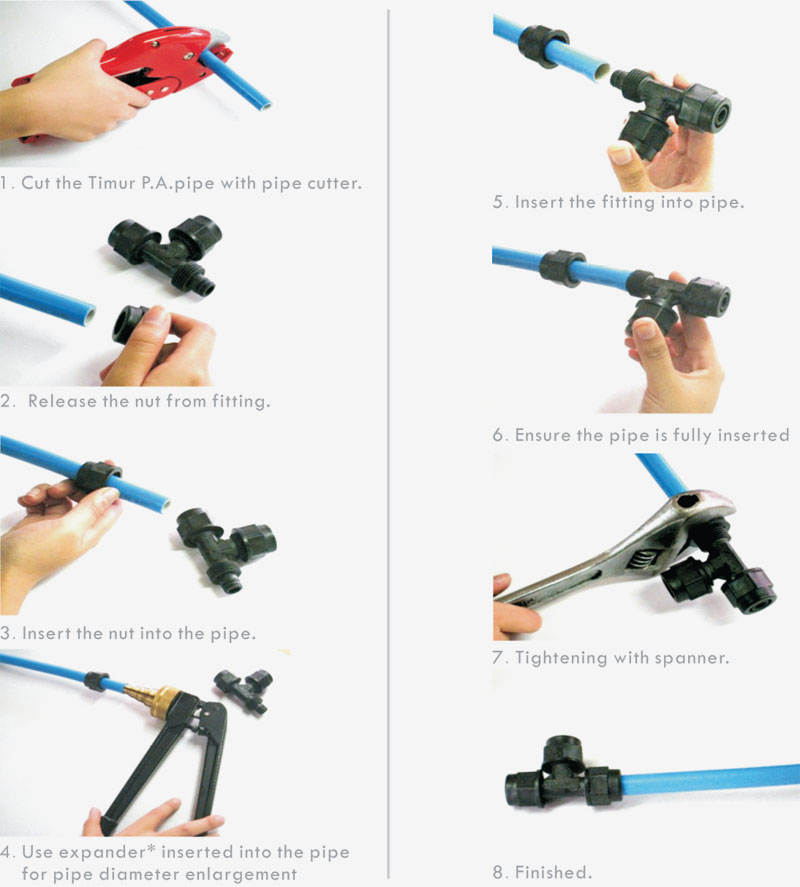
INSTALLATION INSTRUCTION FOR P.A. PRESS FITTINGS
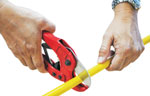
Cutting
Cut the Timur P.A. Pipe with a pipe cutter.
Rounding and Beveling
With a beveling tool, round and bevel the Timur P.A. Pipe to produce a champer.
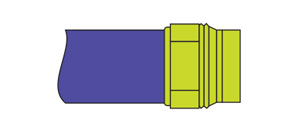
Installation of Pressing Fittings
Gradually push the pipe as far as it will go into the shaped element. The correct penetration depth can be checked by looking through the inspection hole to ensure that the pipe is properly inserted.
Pressing
Open the pressing clamps, and position them so that their ends are aligned with the end of the press sleve. Shut the press clamps and begin the pressing procedure.
INSTALLATION INSTRUCTION FOR P.P.O. PLASTIC FITTING
SPECIAL CARE FOR HOT WATER PIPE

When using Timur P.A. Hot Water Pipe, apply muliple layers of seal tape onto the fitting as to protect the flat ring.